
The complete guide
How To Choose And Fit An Under Cabinet Wine Glass Rack
The problem with storing wine glasses
Wine glasses are the most awkward item in most kitchens. A plate stacks. A mug nests. A wine glass does neither. It needs height for the stem, width for the bowl, and a shelf tall enough to swallow the whole thing upright. That shelf then sits mostly empty above the rims, which is wasted space in a cupboard you probably wish were bigger.
So people improvise. They lay glasses on their side and the rims chip against each other. They push them to the back of a high shelf and only remember they own them at Christmas. They leave a few out on the bench where they gather dust and get knocked. None of that is ideal, and none of it keeps glasses ready to use.
An under cabinet rack sidesteps the whole thing. The few centimetres of air between the bottom of your overhead cabinets and the bench top is already dead space. Nothing lives there. Hang your stemware in it and you reclaim a full cupboard shelf without renovating anything.
How a hanging stemware rack works
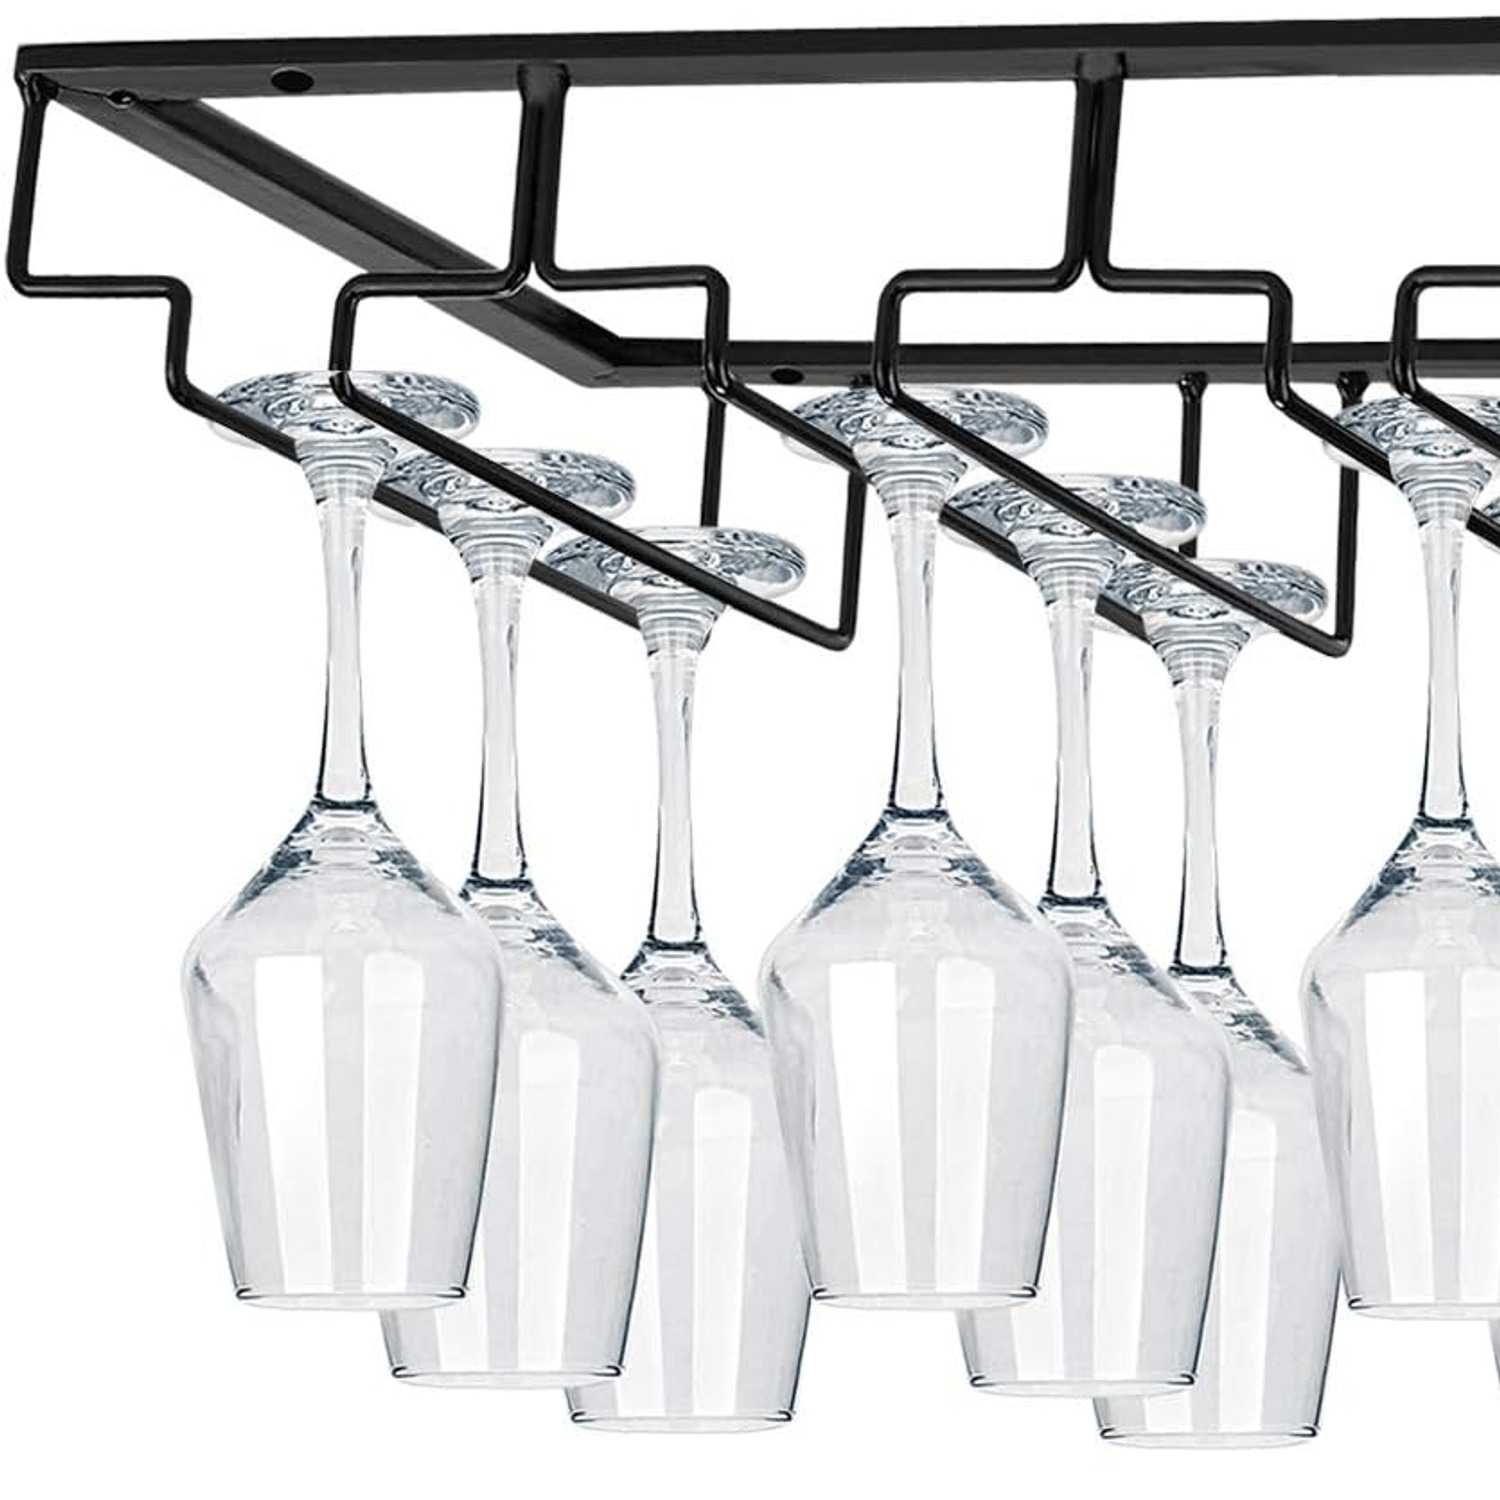
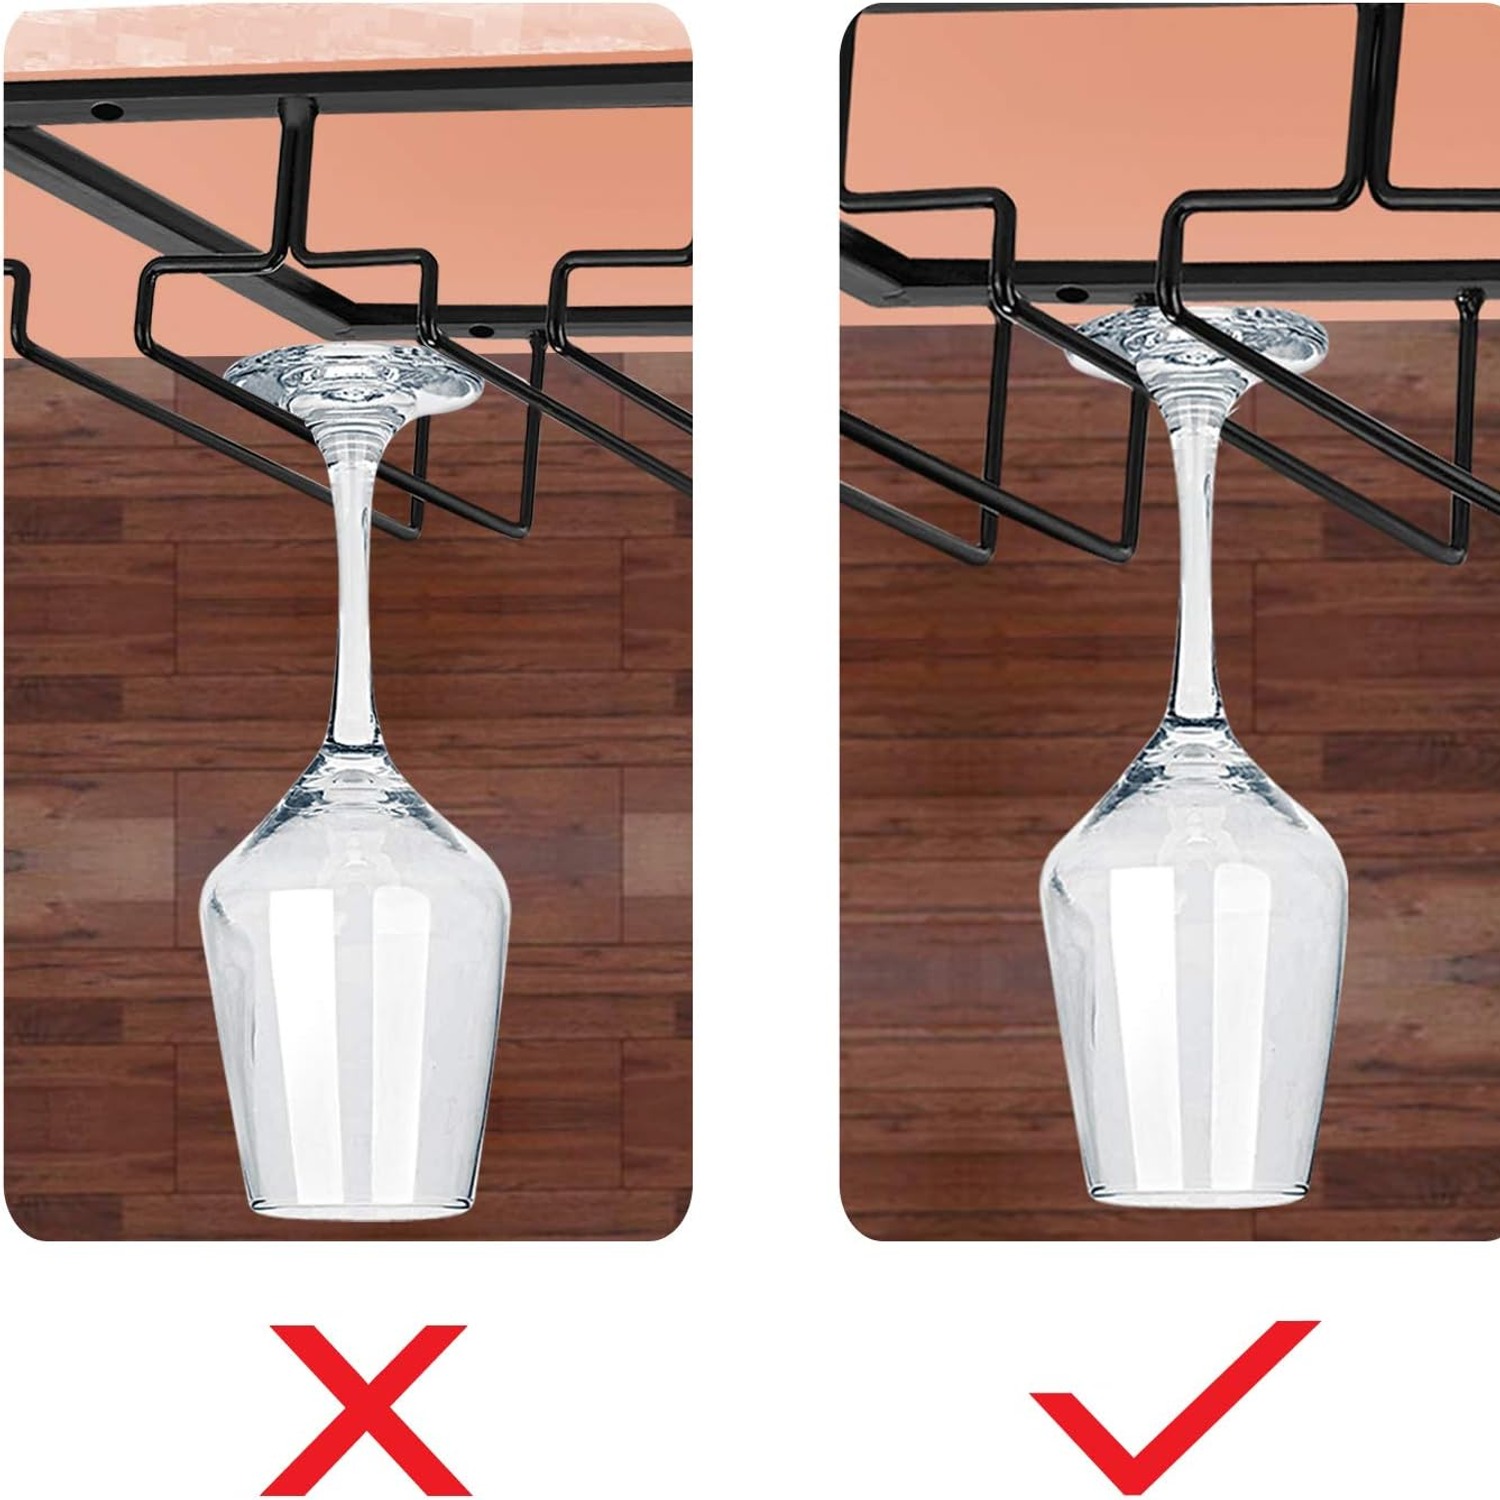
The mechanism is simple enough that it barely needs explaining, but it is worth understanding before you buy. Each row is a pair of parallel rails with a slot between them. You tilt the glass, slide the foot in from the open end, and let the stem settle down into the gap. The foot rests on top of the rails and the bowl hangs below, clear of everything.
Because glasses load sideways, you never lift a glass over its neighbours. That matters more than it sounds. Most breakages happen in the moment of lifting a tall glass out from between two others, when your hand wobbles and the rims clink. Sliding removes that risk entirely.
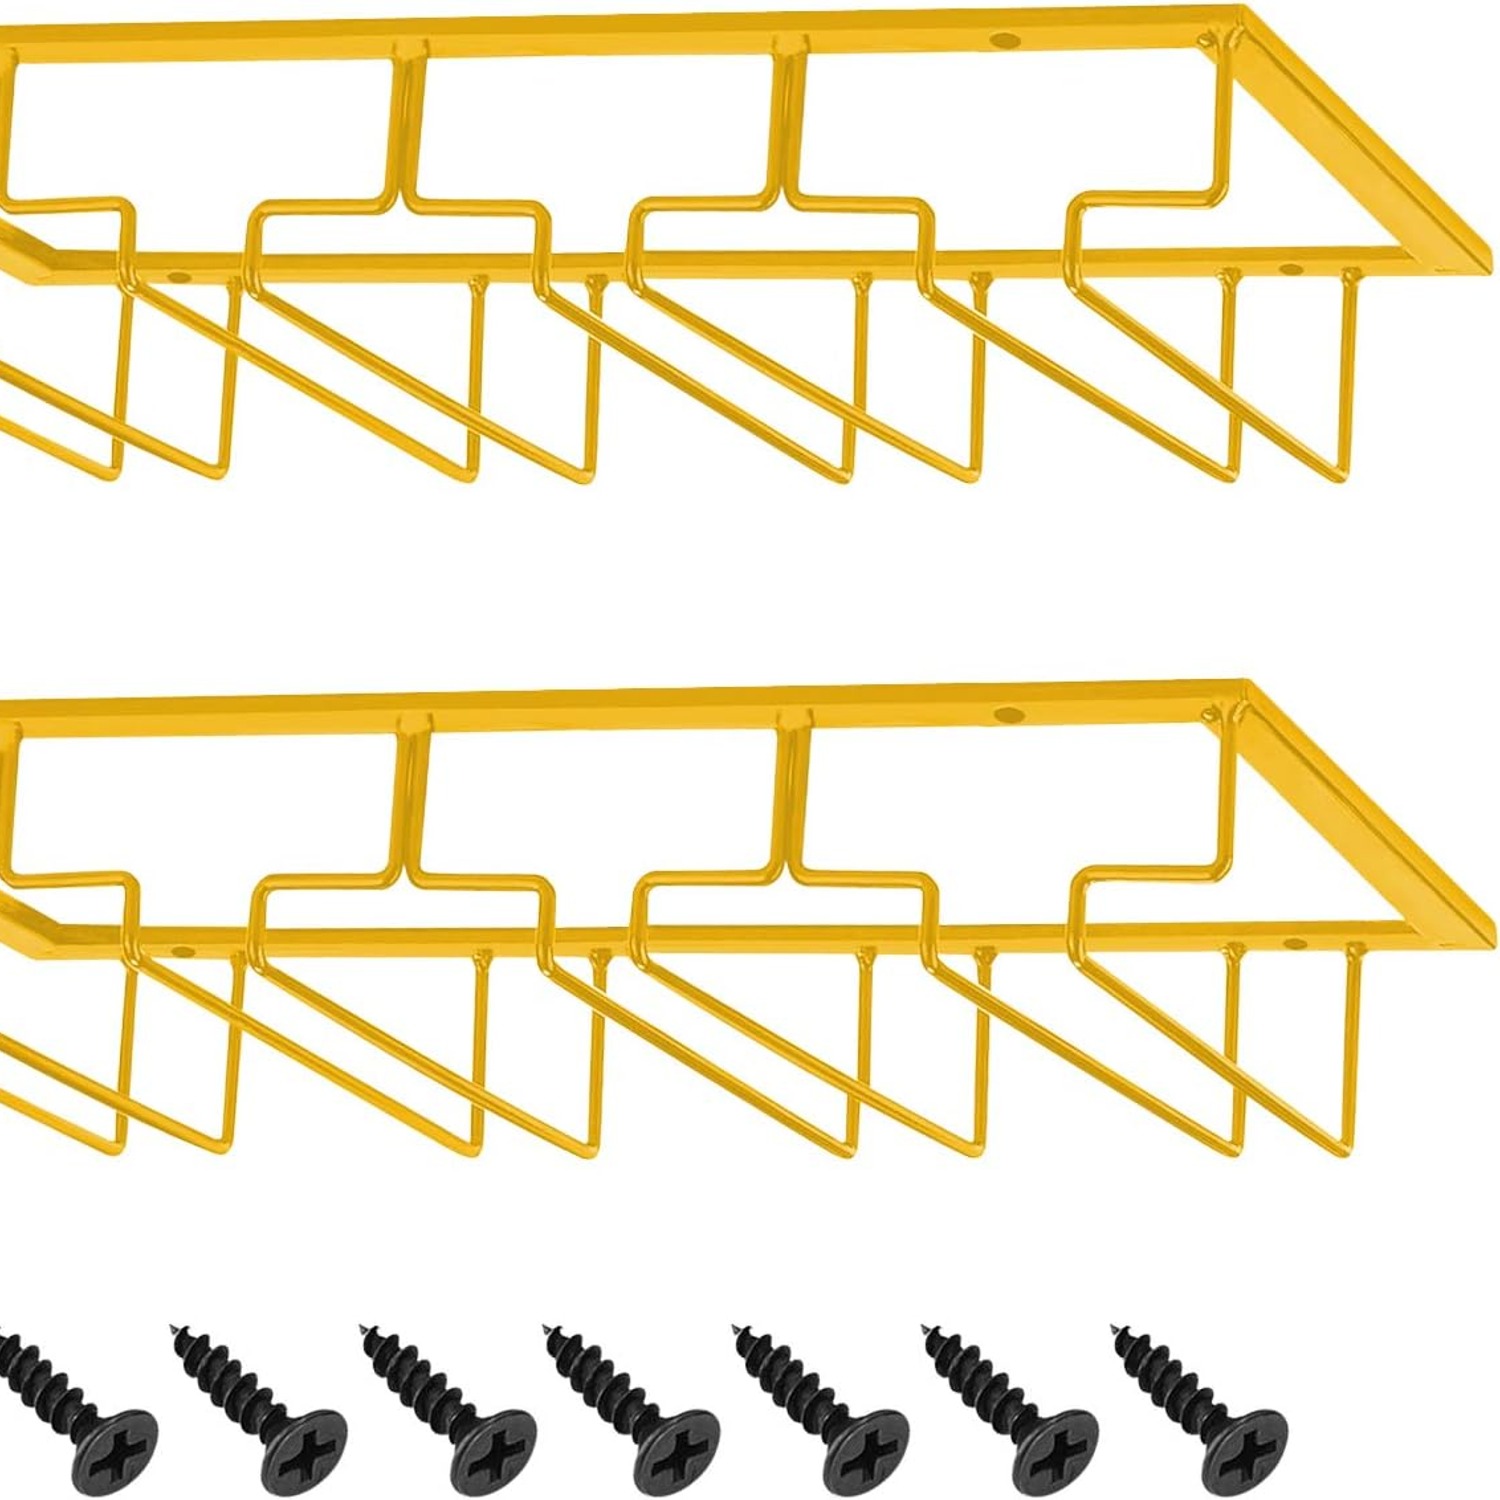
This rack has four rows. Four rows means four separate rails, so you can group glasses by type if you like, reds in one row, whites in another, cocktail glasses in a third. Or just fill them as they come out of the dishwasher. Either way, everything is visible, which is half the point. Glasses you can see are glasses you actually use.
Who it suits
Small kitchens benefit most. If every cupboard is full and you are weighing whether to keep the pasta maker or the glasses, a rack moves the glasses out of the contest entirely.
Home bars are the other obvious fit. A bar cart or a built in bar unit nearly always has an overhanging top shelf, and a rack under it turns that overhang into working storage. Glasses hang at eye level where they look good and reach easily.
Renters can use these too, with a caveat. Fitting involves screws into the underside of a cabinet, which leaves small holes. They are hidden from view and simple to fill, but check your lease. An alternative is to mount the rack inside a piece of furniture you own and can take with you.
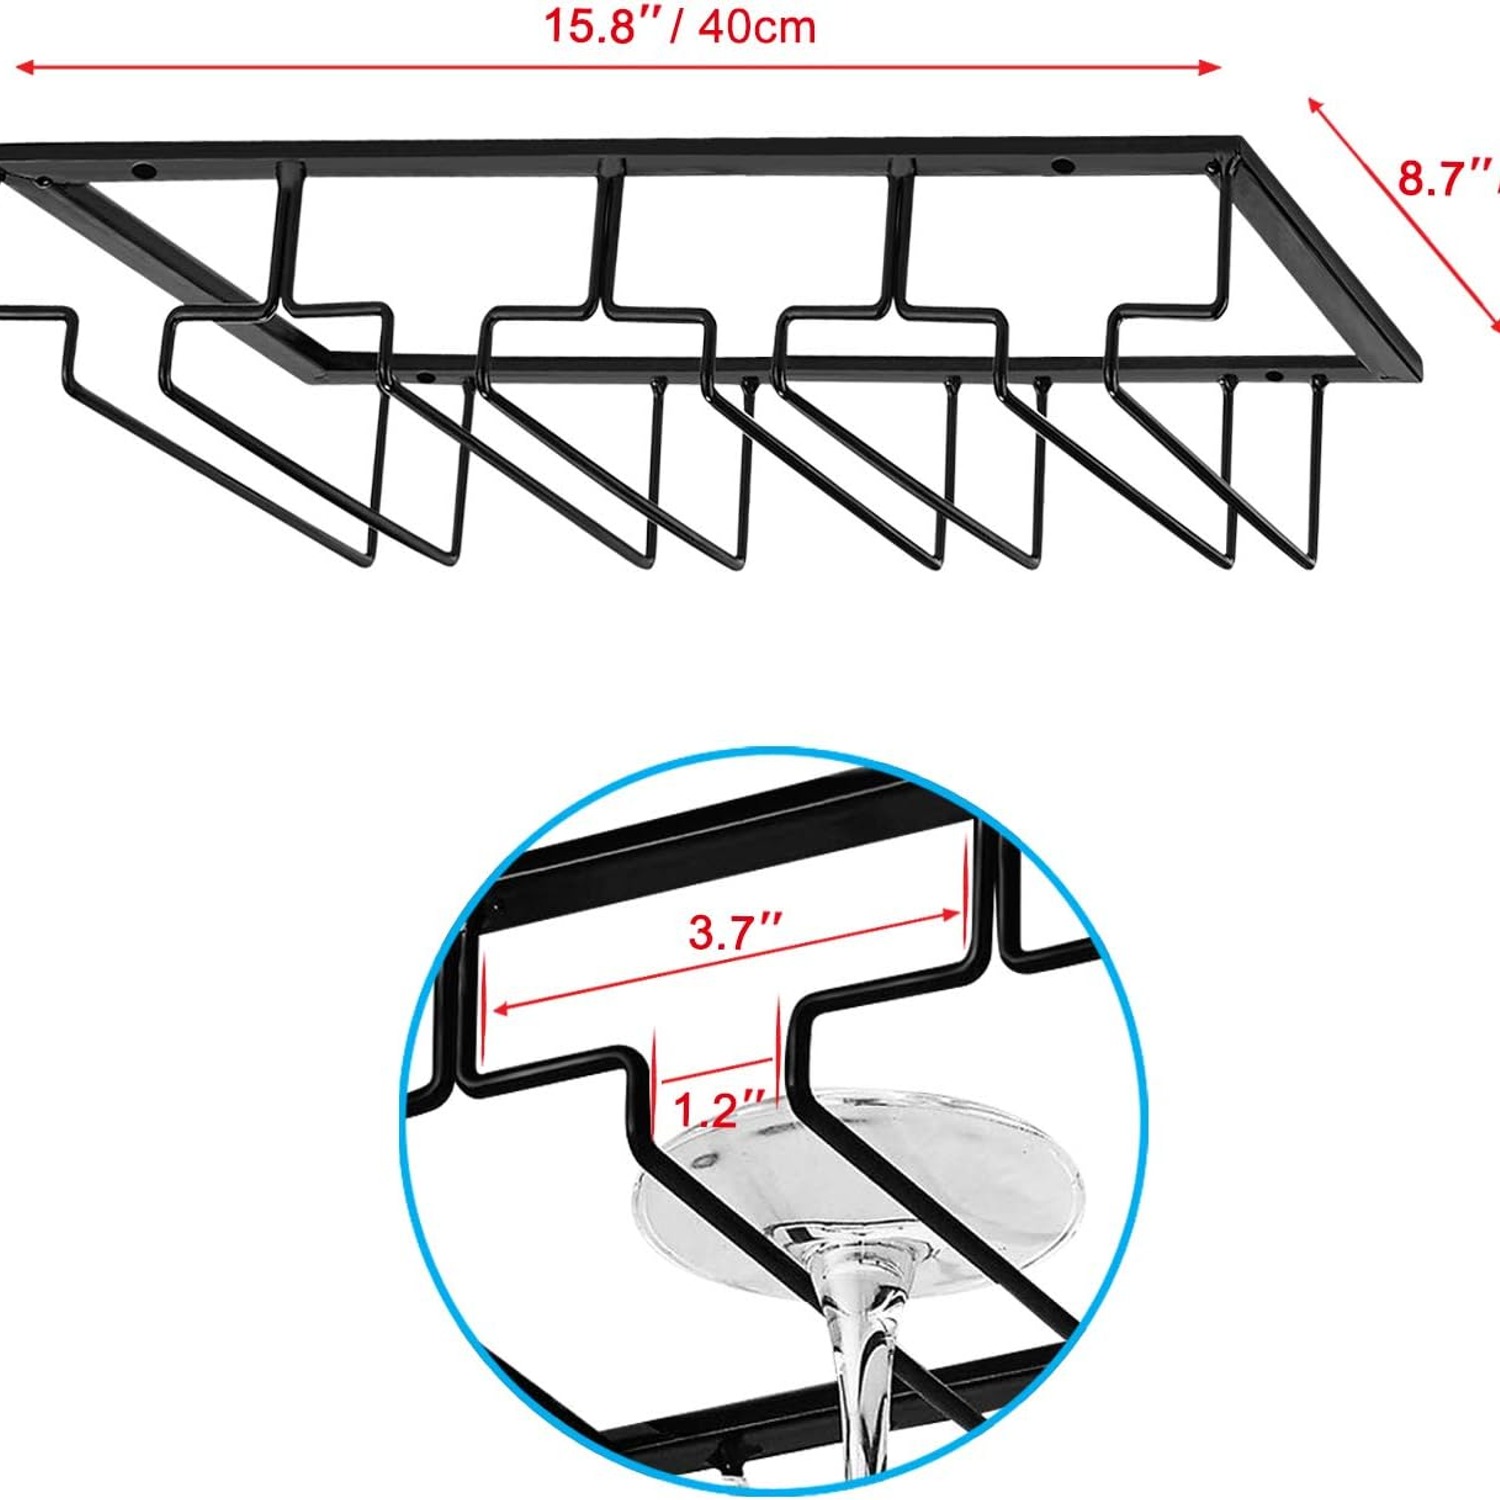
Big entertainers sometimes need more than one unit. This rack is 22.1 cm wide, which is compact. If you regularly pour for a crowd, plan on two racks side by side rather than expecting one to carry everything.
Measuring before you buy
Two measurements decide whether this works for you, and both take about a minute.
First, the clearance. Measure from the underside of your cabinet down to whatever sits below it, usually the bench top or a splashback appliance. Then measure your tallest wine glass. The glass needs the rack height plus its own full height to hang freely, with a bit of margin so you can lift it out. If your bench has a kettle or a coffee machine parked under that cabinet, count that in. Few things are more annoying than a rack installed above a toaster.
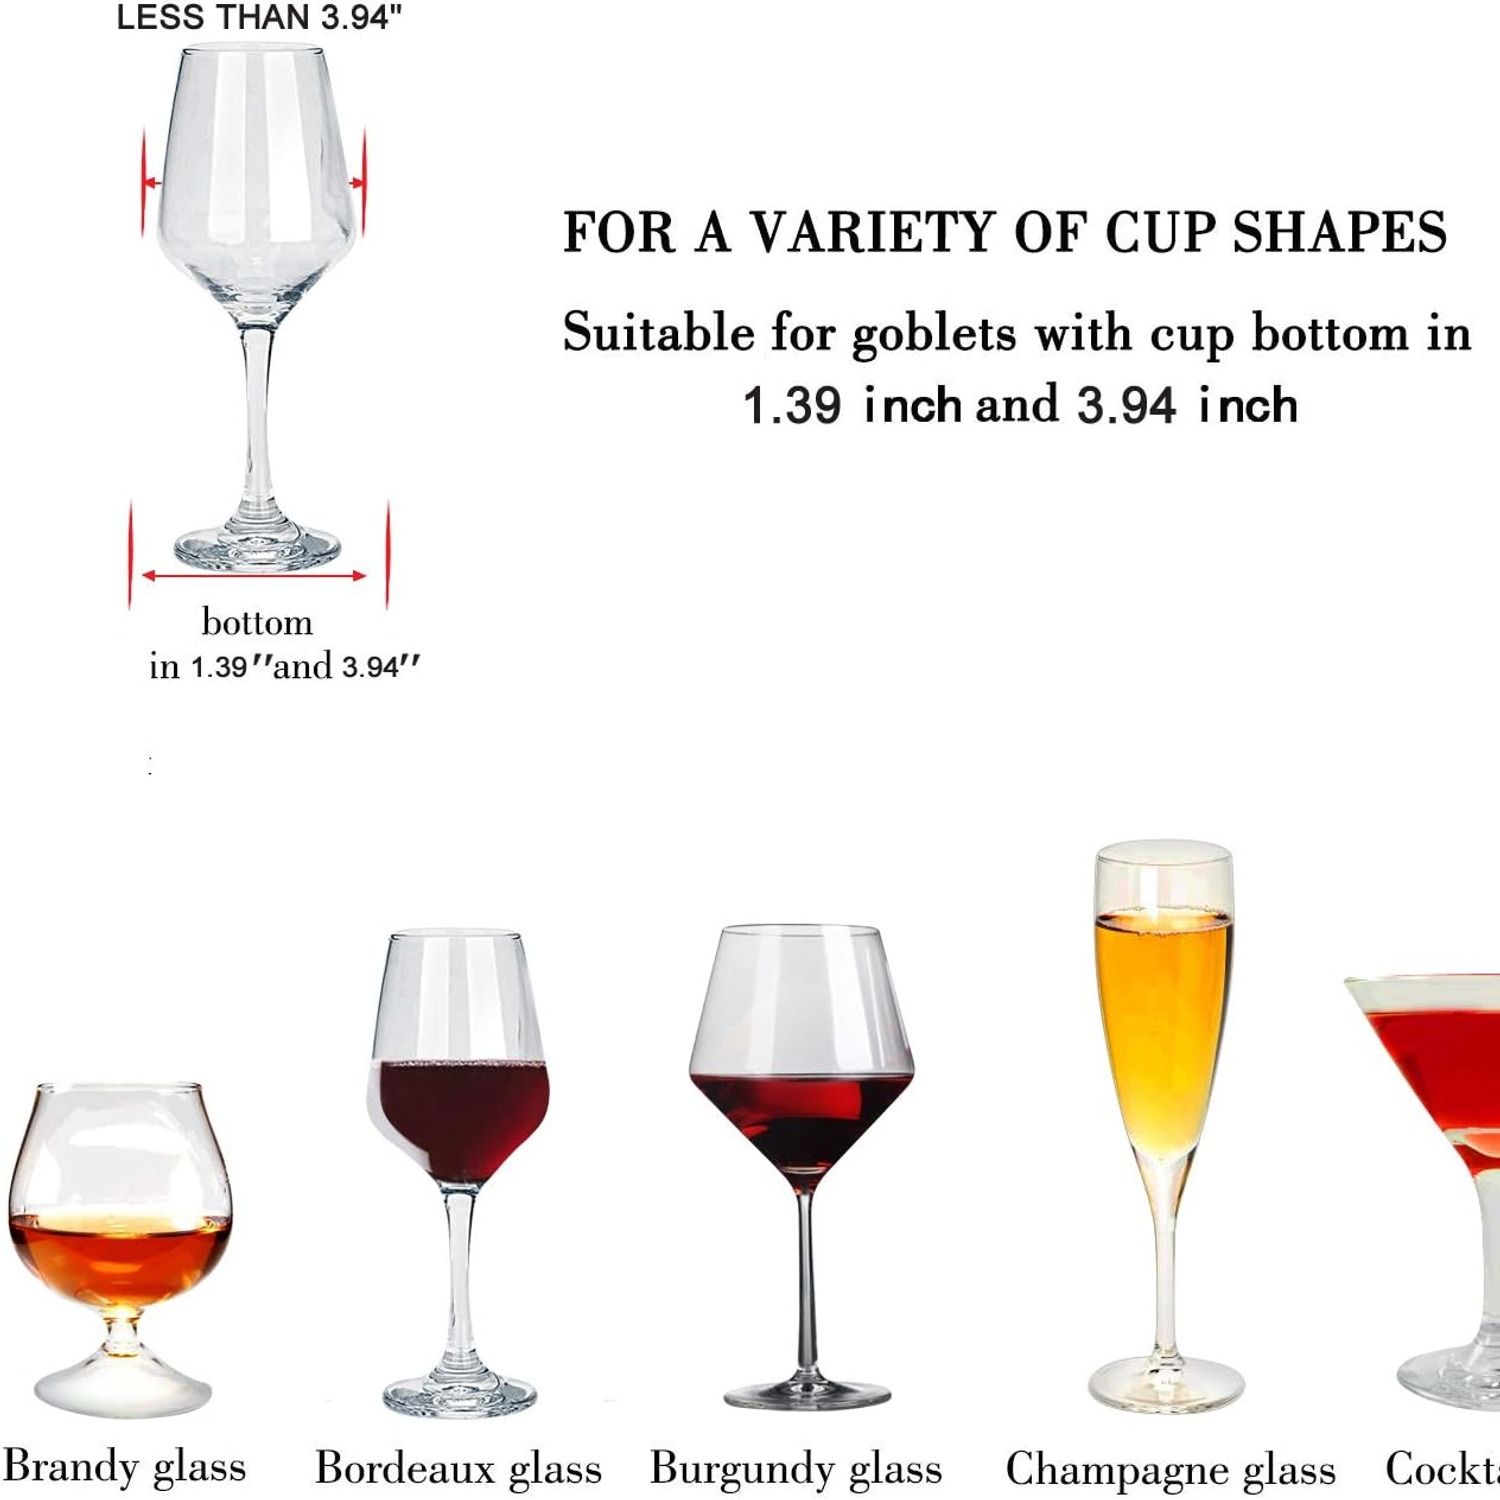
Second, the base of your glasses. The foot is what determines how many fit per row, not the bowl. Stand your most common glass on a ruler and note the width of the base. Divide 22.1 cm by that figure and you have a realistic idea of capacity. Burgundy glasses with broad feet will give you fewer per row than slim white wine glasses or flutes. There is no single right answer, which is why honest advice is to measure rather than trust a headline number.
If your set is mixed, measure your widest glass and plan around that for one row, then let the narrower ones share the others.
Fitting it properly
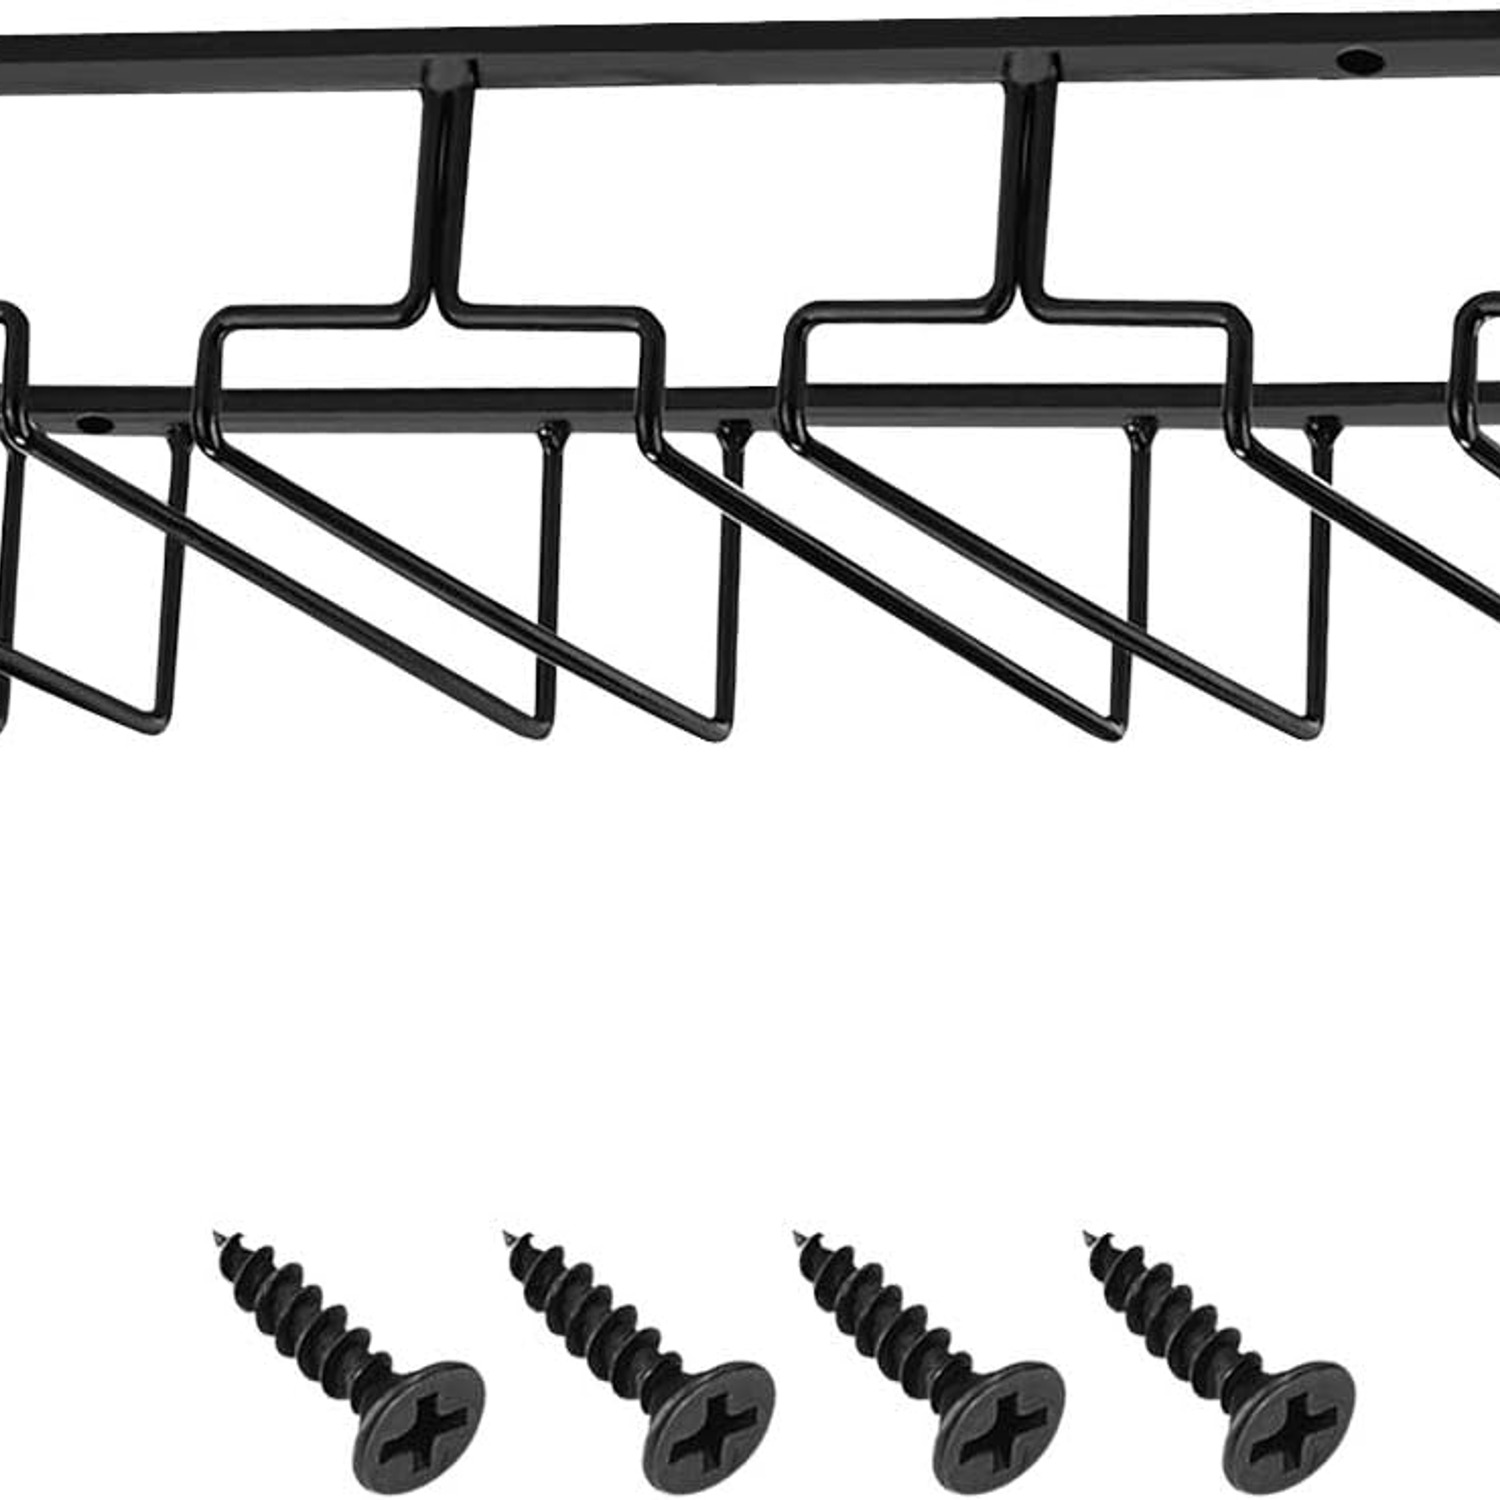
The rack arrives fully assembled with screws included, which removes most of the work. What is left is positioning.
Hold the rack against the underside of the cabinet and decide how far back from the front edge you want it. Sitting it slightly recessed, a centimetre or two in from the front, looks tidier and keeps bowls from catching sleeves as people walk past. Mark the screw holes with a pencil.
Check what you are screwing into. A solid timber or thick ply cabinet base takes screws without fuss. Thin particle board is less forgiving, and it is worth starting the holes with a bradawl or a small pilot drill so the screws bite cleanly instead of tearing the board. If the base is very thin, consider whether there is a stronger rail nearby to catch.
Drive the screws until the rack sits flush and firm. Do not over tighten into soft board, since that strips the hole and leaves you with a loose rack. Give it a gentle tug when you are done. Then hang one glass, check the clearance, and load the rest.
Come back in a few weeks and check the screws. New fixings settle, and a quarter turn then will keep things solid for years.
Looking after it
The powder coated finish does most of the work. Powder coating is baked on rather than sprayed, so it sits as a tough, even skin over the metal and shrugs off the splashes and steam a kitchen throws at it.
Keep it simple. A soft damp cloth wipes dust and cooking film off the rails. Dry it afterwards so water does not sit in the corners. Mild dish soap handles anything greasy near a cooktop. What you want to avoid is anything abrasive, so no steel wool, no scouring cream, no harsh solvents. Those will dull or scratch the coating, and once the surface is broken the metal underneath is exposed.
Let glasses dry before hanging them. Wet feet leave drip marks on the bench below and keep moisture against the rails longer than necessary. A few minutes on a drying mat solves it.
Give the rails a wipe whenever you do a proper kitchen clean, which for most people is often enough.
A few practical details
The colour is white, which tends to disappear under pale cabinetry. If your kitchen is dark, the contrast works in a different way, with the rack reading as a deliberate line and the glasses as the feature.
The whole unit weighs 454 g, so holding it up with one hand while you start a screw is easy. No need for a second person.
It is specified for indoor use. A covered outdoor bar might be fine in a dry climate, but constant weather exposure is not what it is built for.
And it holds the rack only. Glasses are not included.
The short version
If your cupboards are full and your wine glasses are the thing you keep shuffling around, the space under your cabinets is sitting empty and waiting. This four row rack takes about ten minutes to fit with a screwdriver, arrives assembled with screws, and turns that gap into visible, reachable storage.
Measure two things first. The drop under your cabinet, and the base width of your glasses. Get those right and the rest looks after itself. Keep the powder coated finish away from abrasives, retighten the screws now and then, and it will quietly do its job for a long time.